
Size it to your body first
A debris hut fails for one reason more than any other: it's built too big. Extra headroom feels generous when you're building it and costs you heat all night, because your body has to warm the air trapped around you instead of just the space right against your skin. Before you gather a single stick, lie down where you plan to build and note how much room you actually take up. The finished shelter should be barely wider than your shoulders and just tall enough to wiggle in and out.
The ridgepole is the one piece that has to be right
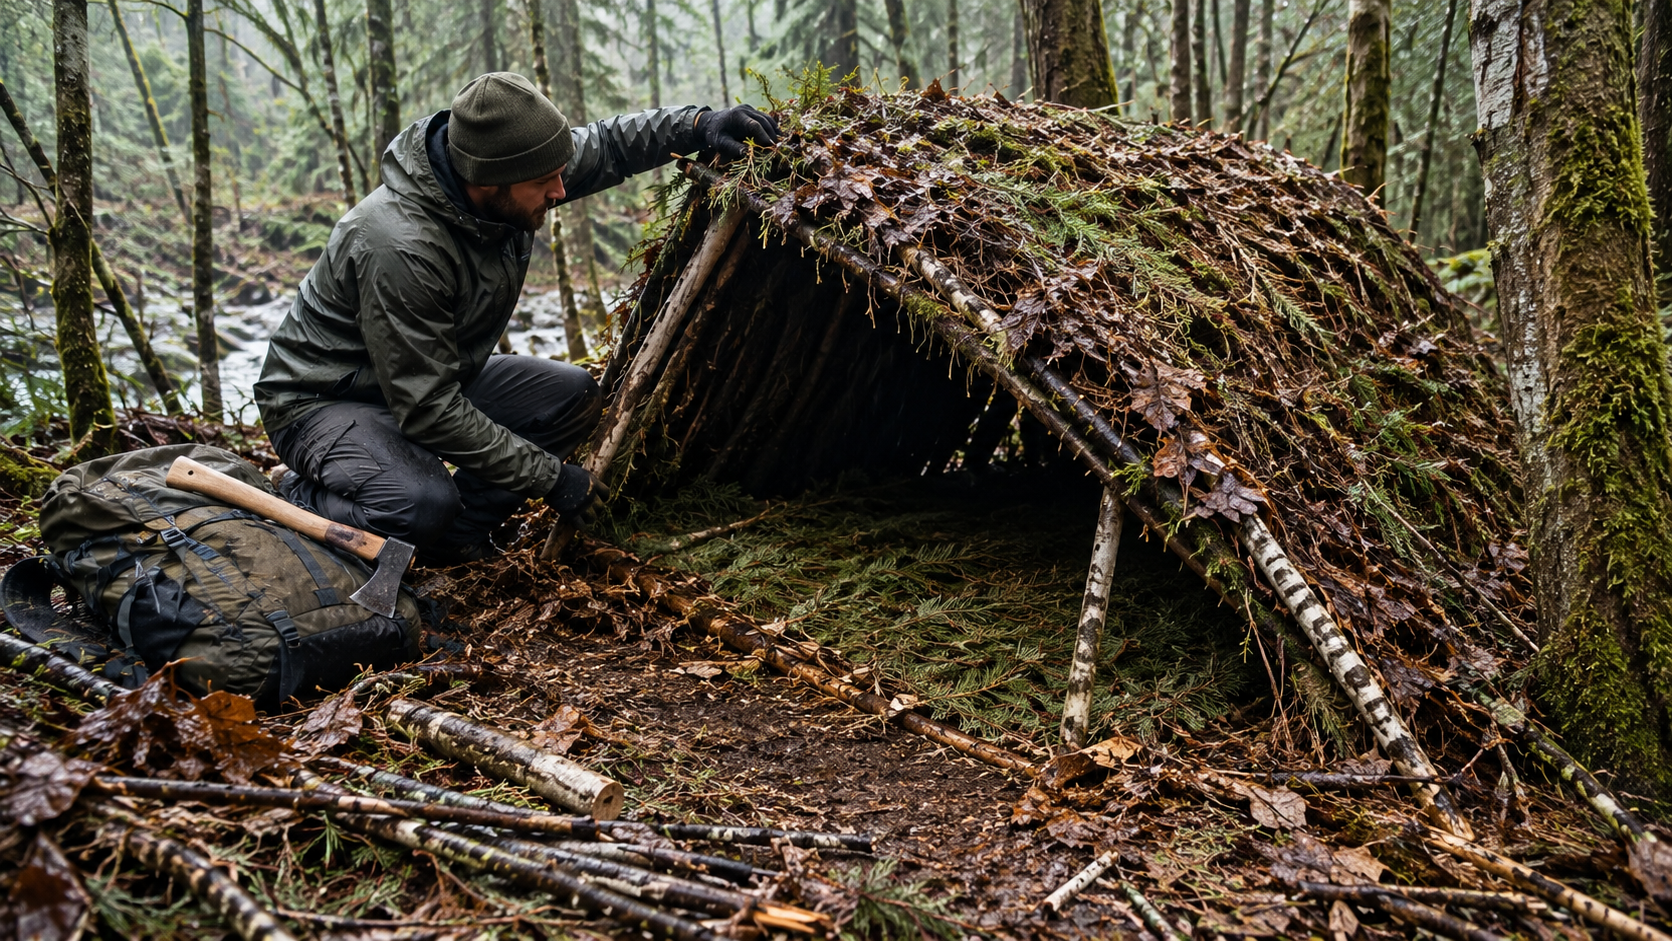
Find a straight, sturdy branch roughly two feet longer than you are tall. This is your ridgepole, and it needs to support the weight of everything piled on top of it later, so test it before committing — a branch that snaps under hand pressure will snap under wet debris at 2 a.m. Prop one end on a low tree fork, stump, or forked support stick at about knee to hip height, and let the other end rest on the ground. That low end is your entrance. The ridgepole height at the high end sets the whole shelter's interior volume, so err low.
Rib it out
Lean sticks against both sides of the ridgepole every 12 to 18 inches, angled inward at roughly 45 degrees, forming a long triangular tunnel. These ribs don't need to be straight — forked or crooked branches actually grip the debris piled on top better than smooth ones do. This is also where you decide the entrance size: keep it just big enough to crawl through, since you'll block it with a debris bundle once you're inside.
Insulation is the part people underbuild
This is where most first attempts fail, and it's not close. Pile leaf litter, pine needles, dry grass, or duff over the rib structure until it's at minimum 2 feet thick on all sides and the top. If the forecast is dropping below 20°F, push that to 3 feet. It sounds like overkill until you remember that loose debris compresses to a fraction of its stacked depth once you're lying under it, and compressed insulation is what actually determines whether you're warm or not. Underneath you, the floor needs at least 12 inches of debris before you get in — dry leaves or boughs, not whatever's already on the ground, since bare earth pulls heat out of your body all night through direct contact.
Once the shell is built, gather a separate pile of loose, dry debris to stuff inside with you. Wiggle in, compress a body-shaped space, and pack the remaining gaps, especially around your feet, where cold pools first.
Close the door
Build or gather a debris bundle sized to plug the entrance once you're inside. An open entrance undoes almost everything the insulation is doing — it's the single biggest heat leak in an otherwise sound shelter.
Where to build it, and where not to
Pick a site on high ground with natural drainage, away from dead standing trees that could drop a limb overnight, and with enough fallen debris nearby that you're not hauling material long distances in fading light. Building against a downed log or low rock ledge gives you a head start on one wall. Avoid low spots and creek bottoms — cold air pools there overnight even when the forecast doesn't suggest it will.
Budget more time than feels necessary. A functional debris hut built by one person from scratch, gathering all material by hand, typically takes one to two hours in daylight. Start well before you think you need to.
FAQ
How warm is a properly built debris hut? With full insulation depth on all sides and a plugged entrance, a debris hut can keep an unequipped person meaningfully warmer than open ground, even well below freezing. It works through trapped dead air space in the debris layer, not through any material generating heat, so thickness and gap-filling matter more than any other single factor.
Can I build one without a knife or tools? Yes. The technique is designed around found materials and hand-strength construction — no cutting, cordage, or tools required, which is the point of it as an emergency skill rather than a planned shelter.
How does this compare to carrying an emergency bivy or space blanket? A packed shelter is faster, lighter to deploy, and doesn't depend on finding the right materials nearby, so it should always be the first option if you're carrying one. A debris hut is a skill for when that's not the situation you're in — gear failure, an unplanned overnight, or a pack you didn't have with you.